Mastering the Art of Shoe Sole Glue: A Comprehensive Guide

Mastering the Art of Shoe Sole Glue: A Comprehensive Guide
Introduction
In the realm of footwear care and maintenance, few tools are as indispensable as shoe sole glue. Whether you’re a casual wearer or a seasoned shoe aficionado, understanding the nuances of shoe sole glue can be the difference between salvaging a beloved pair of shoes and bidding them farewell. This guide aims to provide you with a deep dive into the world of shoe sole glue, covering its various types, applications, and essential usage tips.

Understanding Different Types of Shoe Sole Glue
Contact Cement: The Versatile Bonding Agent
Contact cement stands tall as a stalwart choice for shoe repairs, offering a blend of strength and adaptability. This adhesive functions by coating both surfaces with a thin layer, allowing it to dry before bringing them together. With its compatibility with materials like rubber, leather, and fabric—common constituents of shoe soles—contact cement emerges as a go-to option for diverse repair needs.
Cyanoacrylate (Super Glue): The Quick Fix Solution
Cyanoacrylate, colloquially known as super glue, earns its moniker for its rapid and robust bonding capabilities. Ideal for swift fixes, super glue forms an instantaneous, formidable bond. However, its rigidity might render it less suitable for applications demanding flexibility, making it better suited for minor repairs rather than comprehensive sole replacements.
Polyurethane Adhesive: The Durability Champion
Polyurethane adhesive boasts a reputation for resilience and suppleness. Its adhesive properties generate a sturdy bond capable of withstanding substantial wear and tear, rendering it a prime choice for outdoor footwear such as hiking boots. While it may necessitate a longer curing period compared to other variants, the payoff in durability often justifies the wait.

Applications of Shoe Sole Glue
Sole Regluing: Reviving Your Soles
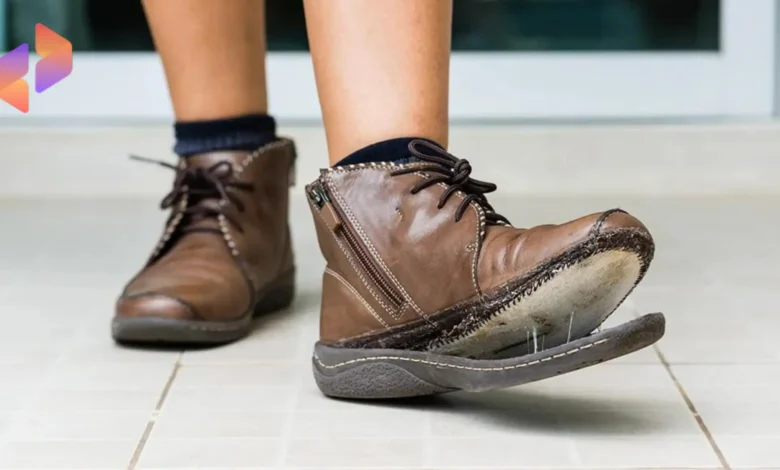
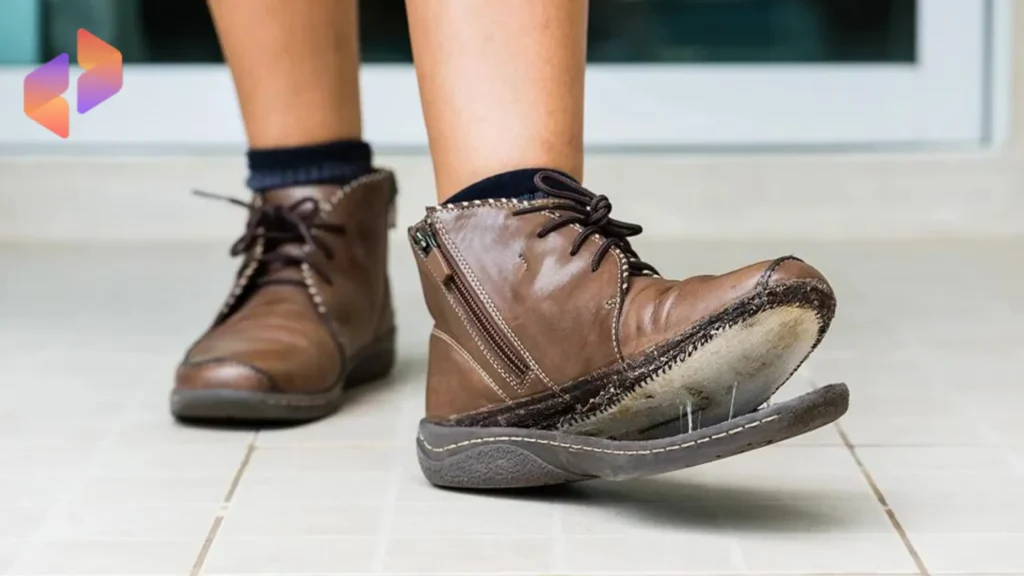
As shoes weather the passage of time, the soles may begin to detach from the upper, heralding discomfort and potential damage. Shoe sole glue presents a straightforward yet potent solution for reattaching separated soles, breathing new life into your cherished footwear.
Patching Holes and Tears: Mending with Precision
From minor punctures to substantial tears, shoe sole glue serves as a trusty ally in patching up shoe maladies. By applying the adhesive judiciously and pressing the affected areas together, you can seamlessly mend imperfections, preventing further deterioration and preserving the integrity of your shoes.
DIY Shoe Repairs: Empowering Every Wearer
Why entrust your footwear to professional repair services when you can undertake minor fixes with ease? Armed with the right shoe sole glue and a modicum of patience, you can address loose soles, reattach heel caps, and mend an array of common shoe afflictions from the comfort of your abode.
Proven Tips for Optimal Usage
Achieving the best results with shoe sole glue relies not only on choosing the right adhesive but also on employing proper application techniques. Here are some tried-and-tested tips to ensure optimal usage:
1. Thorough Cleaning:
Before applying shoe sole glue, it’s crucial to prepare the surfaces by thoroughly cleaning them. Any dirt, grease, or remnants of old adhesive can hinder the bonding process, resulting in a weaker bond. Use a gentle solvent or rubbing alcohol to remove any contaminants, and ensure the surfaces are completely dry before proceeding with the glue application. This step sets the foundation for a strong and lasting bond between the sole and the shoe upper.
2. Even Application:
Consistency in application is key to achieving a strong and uniform bond. When applying the glue, aim for even coverage on both surfaces that are being bonded. Use a small brush or applicator to spread the adhesive evenly, ensuring that there are no gaps or areas with excessive glue. Pay attention to the edges and corners, as these areas are prone to separation and require extra reinforcement. By applying the glue evenly, you maximize its effectiveness and create a seamless bond between the sole and the shoe.
3. Strategic Pressure:
Applying pressure during the curing process is essential for ensuring a tight bond between the sole and the shoe upper. Once the glue has been applied and the surfaces are pressed together, use clamps or heavy objects to exert pressure evenly across the bonded area. This helps to squeeze out any excess glue and ensures that the two surfaces are firmly held together while the adhesive sets. Be sure to place the clamps or weights in such a way that they do not distort the shape of the shoe or cause damage to other parts of the footwear. Proper pressure application promotes maximum adhesion and minimizes the risk of separation over time.
4. Patience in Curing:
Allowing sufficient time for the glue to cure is perhaps the most crucial step in the bonding process. While some adhesives may set quickly, it’s important to follow the manufacturer’s instructions regarding curing time to ensure optimal results. Avoid subjecting the repaired shoes to excessive stress or wear until the glue has fully cured, as premature use can compromise the integrity of the bond. Depending on the type of adhesive and environmental conditions, curing times may vary, so exercise patience and err on the side of caution. By allowing the glue ample time to cure, you ensure a strong and durable bond that will withstand the rigors of everyday wear and tear.
Conclusion
Mastering the art of shoe sole glue application is a skill that can prolong the life of your footwear and save you money on professional repairs. By following these proven tips for optimal usage—cleaning surfaces thoroughly, applying glue evenly, exerting strategic pressure, and exercising patience during curing—you can achieve reliable and long-lasting bonds that keep your shoes in top condition. So, the next time you encounter a sole separation or shoe repair challenge, armed with the right adhesive and application techniques, you’ll be ready to tackle it with confidence and precision.
Read More..
Shower Standing Handle 101: A Comprehensive Guide to Safety and Comfort


